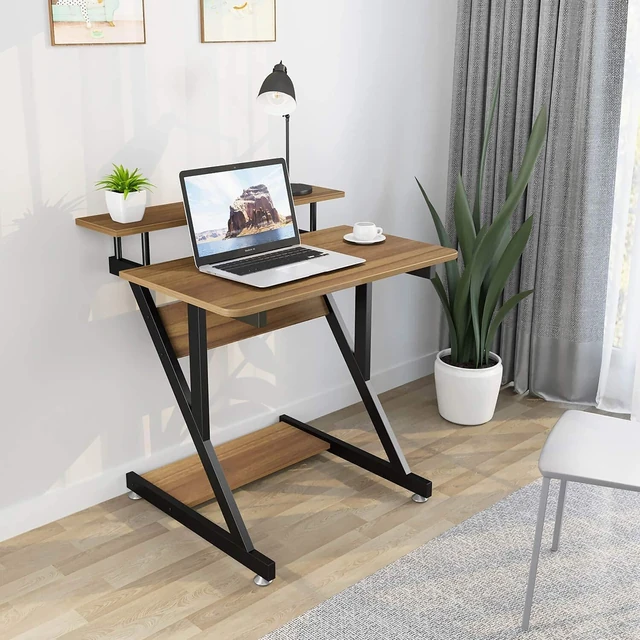
Start with the activities that already happen here
A spare room can become an office at nine, a workout space at six, and a place for family activities on the weekend. The difficult part is rarely finding products for those jobs. It is making sure each activity has enough room when someone actually uses it. A rower can fit beside a desk while its moving seat blocks the chair. A small cabinet can fit underneath that desk while leaving nowhere comfortable for your feet.
Start with a short description of your day. Note who uses the room, which activities overlap, and which objects can stay in place. Separate the things you use daily from the things you bring out occasionally. If work calls and exercise happen at the same time, those activities need separate areas or separate rooms. If they happen hours apart, shared floor space may work.
Give each purchase one clear job. That might be keeping hanging files beside the desk, providing a seated pedaling option, or creating a defined area for supervised play. Then identify what currently prevents that job from happening. This approach gives you a useful shopping brief before you begin comparing finishes, features, and prices.
Measure the room in three different states
Record the room as it is now, as it will be during use, and as it will be after everything is put away. These are three different layouts. The first tells you what can enter the room. The second tells you whether the activity is practical. The third tells you whether the room will remain usable between sessions.
Measure wall lengths, ceiling height, door openings, and the distance between fixed features. Include radiators, baseboards, window ledges, floor vents, and the swing of closet doors. Mark outlets on a simple sketch. A clear wall in a photograph may have several features that prevent furniture from sitting flush against it.
Use removable floor markings, if suitable for your flooring, to outline a prospective item's published dimensions. Add its required operating clearance from the instructions as a separate outline. Then open nearby drawers, pull out the desk chair, and walk through the space. Do the same with storage dimensions. An item that folds flat still needs a reachable storage position and a clear route to it.
Measure the delivery route too. Check the narrowest doorway, tight turns, stair landings, and the final room entrance against the package dimensions. Keep assembled dimensions and shipping dimensions in separate notes so a carton measurement does not accidentally become your floor plan.
Read dimensions as a set of decisions
A footprint is the floor area occupied by the product itself. Operating space includes the person, moving parts, access, and any clearances specified by the manufacturer. Stored size describes a particular folded or disassembled arrangement. These figures answer different questions, so one should not stand in for the others.
Concept2 provides a useful example of the distinction: its RowErg is listed as 8 by 2 feet assembled, with 9 by 4 feet recommended for use. Those measurements apply to that machine, not every rower. The lesson is to look for both numbers when evaluating any exercise equipment, then check the exact model's instructions.
Keep units consistent. Divide inches by 12 to convert them to feet, and label every measurement as width, depth, or height. A 48 by 24 inch footprint is 4 by 2 feet, or 8 square feet. That arithmetic does not establish the space required for use; it only describes the rectangle occupied by the item.
Round room measurements down when making an initial shortlist, and retain the exact product dimensions for the final check. If two parts of a listing disagree, resolve the difference before planning a tight fit. A rounded headline is insufficient when a cabinet must pass beneath a fixed desk apron.
Keep the route through the room usable
Place the activities on your sketch before placing the products. Draw a route from the door to the desk, the closet, and any other frequently used area. Now consider what that route looks like with a chair pulled back or an exercise machine in use. A plan that only works when every object is closed and perfectly aligned needs another look.
Think about transitions as well as destinations. Where will the office chair go while you unfold equipment? Where will the folded equipment wait while you put the chair back? If the answer is the hallway, check whether moving it there interrupts access to another room. A storage solution should make the next activity easier to begin.
Take photographs from the doorway and from the main seated position. They often reveal a crowded approach or a cabinet door that opens into the wrong place. These photographs are planning aids, not substitutes for measurements.
In a shared room, agree on what must be reset after use. A short routine such as clearing the desktop, returning exercise accessories to a shelf, and putting the chair back can be more useful than adding another piece of furniture. Choose a routine that the household can repeat without moving heavy equipment each time.
Distinguish seated pedal equipment from standing machines
An under-desk elliptical and a standing elliptical can have similar names while requiring completely different layouts. Start with the intended position of the user. For example, Sunny Health & Fitness describes its Smart Motorized Under Desk Mini Elliptical as equipment for seated use. Do not assume a compact pedal device is suitable for standing because its housing looks substantial.
For seated equipment, check the chair, the pedals, and the underside of the desk together. The relevant dimension includes your knees through the movement, not just the height of the machine. A deep desk apron, central drawer, or low keyboard tray may reduce the space available above your legs.
Separate powered movement, adjustable speed, and adjustable resistance when comparing specifications. They are different functions. Read how manual and automatic modes operate, whether direction can change, and whether a preset locks individual settings. A higher number of settings is useful only if it offers the adjustment you want.
Consider how you will reach the controls from your normal seated position. A remote can change that interaction, but it also needs a consistent place to live. Check the power arrangement and cord route in the instructions. Before choosing a standing machine instead, repeat the room assessment for its full moving footprint and the user's position above the floor.
Give rowing and boxing their own setup checks
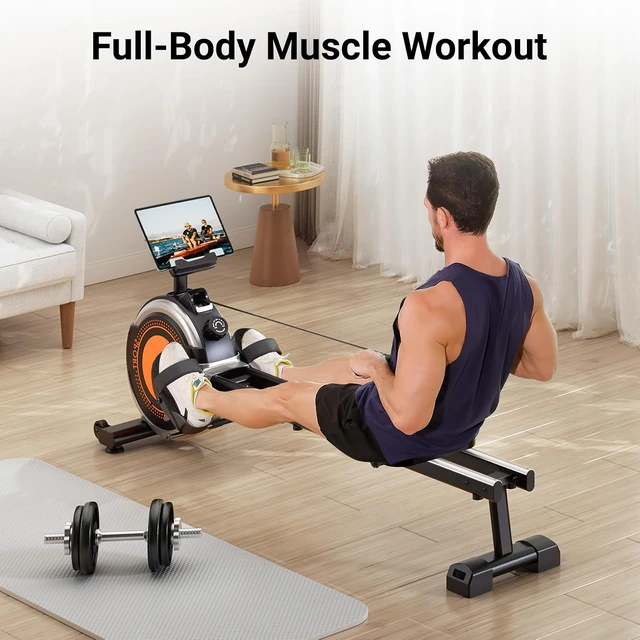
Rowing and boxing use space differently. A rower organizes movement along a rail; a freestanding bag has a base and a striking area around it. Neither is well described by a single photograph against a wall. Use the exact product instructions to establish placement and clearance rather than borrowing a distance from another machine.
For a rower, look at the rail, seat travel, footplate access, handle movement, and the position of the display. Check how you will get on and off without crossing a neighboring workstation. Storage deserves its own review: separating a machine into sections, folding it, and standing it vertically are different actions. Use only the method specified for the selected model.
For a freestanding bag, compare the stated base requirements, floor suitability, fill material, and assembled height. Some products use suction cups intended for smooth surfaces; others use a differently shaped weighted base. A floor covering chosen for appearance may change how the base contacts the floor, so follow the model's placement instructions.
Read shipping and assembly information before deciding where to install the bag. If the base and striking section arrive separately, wait until all required parts are present. Plan where filling and assembly will happen and how the finished item will reach its final position. A filled base can be much less convenient to relocate than the product photograph suggests.
Plan the workstation around the person
Set the chair and screen position before filling the area beneath the desk. OSHA's workstation guidance recommends placing the monitor directly ahead, with the top line of the screen at or below eye level. It describes a generally preferred viewing distance of 20 to 40 inches. These are useful starting points for arrangement, with text size and individual needs affecting the final position.
OSHA also advises preserving room for the legs and avoiding storage that restricts movement beneath the work surface. A cabinet that slides under the desk is not automatically a good fit for the person sitting there. Place it beside the working position if putting it directly underneath forces the chair away from the keyboard.
Check your arrangement with the equipment you actually use. Open the laptop, position the keyboard and mouse, and set down your usual notebook. If you use a separate monitor, include its stand or arm and the space needed for adjustments. A clean desktop in a staged photograph rarely includes all of these objects.
Decide which items need daily access. Keep occasional supplies elsewhere rather than allowing them to determine the keyboard position. If a room also holds exercise equipment, make sure its storage position does not prevent the office chair from moving into and out of the working area.
Choose file storage by the files inside it
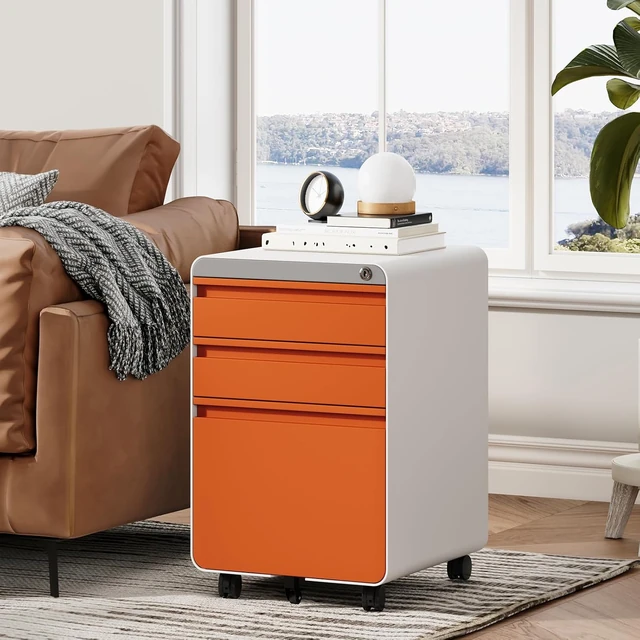
Count the types of documents you need to store before choosing a cabinet. Loose paper, hanging files, binders, and small supplies need different arrangements. Three drawers do not necessarily mean three file drawers. Check which drawer has rails, which paper formats those rails accommodate, and whether the hanging frame can be repositioned.
US Letter measures 8.5 by 11 inches, Legal measures 8.5 by 14 inches, and A4 measures 210 by 297 millimeters. Hanging folders extend beyond the paper inside them. A drawer's external width therefore cannot establish folder compatibility. Use the stated supported formats and the interior dimensions, then compare them with the folders you own.
Measure the open drawer as well as the closed cabinet. Leave enough room to stand or sit where you can reach the back without moving the cabinet every time. Note whether handles project beyond the cabinet body and whether the top edge interferes with the underside of the desk.
For rolling storage, confirm whether casters are included in the published height and whether you must install them. Check which wheels lock and how the drawer mechanism operates. Keep total cabinet capacity separate from the limit for an individual drawer. Choose a practical filing arrangement first, then use color and finish to connect the cabinet with the room.
Treat storage as a route, not an empty corner
A storage corner is only useful if the object can reach it and come back out. Sketch the complete route for a folded frame, rolling cabinet, or portable pedal device. Include the closet opening, any floor transition, and the objects that usually sit along the way.
Check the stored height and orientation against shelving and closet rails. Do not assume a machine can rest on its end unless its instructions allow it. For products with carrying handles, look at the item weight and handling guidance before making daily movement part of your plan. Wheels may simplify movement, but their presence does not establish suitability for every floor or threshold.
Give small parts a home near the main item. Remotes, keys, assembly tools, and compatible accessories are easier to find when they have an assigned place. Label a container with the product name and keep the instructions where another household member can retrieve them. Avoid mixing components from similar products simply because they look alike.
Test the proposed reset before buying. Move a box or other harmless placeholder along the route and open the storage door fully. If you must shift several unrelated items, reconsider the location. The best storage position for an occasional item may be different from the best position for equipment you intend to use every day.
Place a mirror for the task and the light
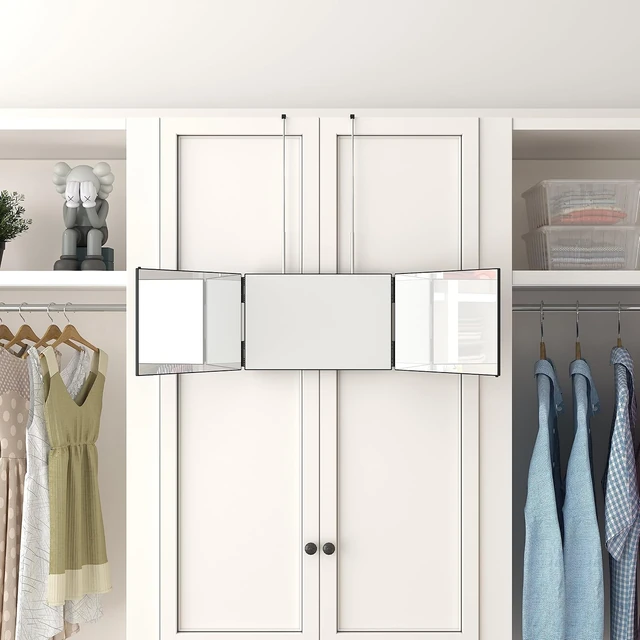
Begin with what you need to see: a whole outfit, your face at normal scale, or a small detail. A full-length mirror and a magnifying grooming mirror solve different problems. Simplehuman's mirror range illustrates how brands distinguish normal viewing, magnification, wall mounting, and folding travel formats. Use those distinctions when comparing categories, without assuming that every mirror offers the same light quality or controls.
Mark the intended mirror outline with a paper template if the surface permits it. Look from the actual standing or seated position and check the view at the times of day you expect to use it. Notice reflections of lamps, windows, and screens. Move the proposed position before choosing mounting hardware.
For a tabletop mirror, include the base and the space required to tilt or turn it. For a lighted model, check whether it uses replaceable batteries, a rechargeable battery, or a power connection. Decide where charging or plugging in will happen before arranging nearby objects.
Check the exact instructions for mounting, cleaning, permitted locations, and handling. A bathroom setting in a lifestyle photograph does not by itself establish that an electrical mirror is suitable for that environment. Keep the mirror in a position allowed by its instructions; placement limits can differ between models.
Separate an awake play area from a sleep space
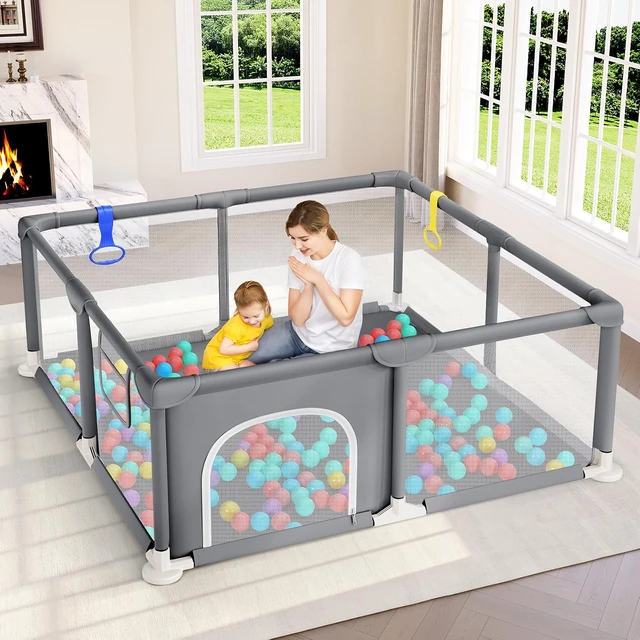
A roomy enclosure can help define where supervised play happens, but its appearance does not establish whether it is suitable for infant sleep. Product names can blur the distinction between a play fence, a playpen, a travel crib, and a play yard. Read the intended use and instructions for the exact product and configuration.
CPSC advises using infant sleep products intended for that purpose that meet federal requirements, placing babies on their backs, and keeping the sleep space bare apart from a fitted sheet. It also advises moving a baby who falls asleep elsewhere to an appropriate crib, bassinet, play yard, or bedside sleeper. Adding a mat does not turn an enclosure intended for play into a sleep product.
For the room layout, identify the play area separately from the exercise area. Put it where a caregiver can supervise and where adult equipment does not need to pass through it. Keep the chosen enclosure's doors and access points clear, and follow its instructions for setup, permitted configurations, and when to stop use.
Check the included floor surface or mat for that exact bundle. Do not infer inclusion from a styled photograph containing toys, cushions, or other accessories. Keep a shopping list of what is included and what is optional, and avoid adding items to an infant sleep space based on the way an adult would furnish a comfortable seating area.
Review the surrounding furniture too
A new play area changes how you should look at the rest of a shared room. CPSC's Anchor It guidance recommends securing furniture and televisions according to the manufacturer's instructions and removing objects that may tempt children to climb. A visible adult or a closed drawer is not a replacement for that work.
Review the room from its entrance and from the floor. Identify furniture that requires anchoring, accessible cords, and objects stored above the play area. Follow the relevant product instructions and CPSC childproofing guidance. Do not use a pet gate as a child safety gate; CPSC specifically distinguishes them.
Keep workout setup and play setup as separate activities. Put small assembly parts away before opening the room to children. When a product needs adjustment, move the child away from that work rather than attempting it around an occupied play area.
Make the room's arrangement understandable to another caregiver. Keep the correct instructions accessible, explain which equipment is for adult use, and identify where items belong after use. This is especially helpful in a room that looks different during the working day and in the evening. The goal is a predictable layout, with each product used for its stated purpose.
Compare the details that change daily use
Build a shortlist around the decisions you have already made. For a cabinet, compare file compatibility, drawer layout, overall height, and assembly. For seated exercise equipment, compare intended use, controls, power, movement settings, and storage. For a mirror, compare viewing size, magnification, placement, and lighting controls.
Keep comparisons within a category. A larger motor setting count cannot be meaningfully compared with a rower's resistance levels, and a child's play enclosure should not be evaluated using the same checklist as a sleep product. Even within a category, check that you are comparing the same type of measurement.
Distinguish essential information from attractive extras. If a cabinet cannot hold your Legal folders, a matching finish will not solve the problem. If the room cannot accommodate a machine during use, a compact storage description will not solve it either. Resolve fit and function before choosing decorative details.
Finally, read what is included, what requires assembly, and which accessories belong to the selected version. Save the model name, instructions, and a copy of the dimensions with your room sketch. These records are useful when you need to identify a component later, and they help prevent details from a neighboring size or color being mistaken for your own.
Make a one-page room plan before ordering
Put the room sketch, product shortlist, and unresolved measurements on one page. Use separate columns for assembled size, operating space, and stored size. Add a line for power or mounting requirements, another for what arrives in the box, and a final line for the action needed before first use.
Try the room in the order you expect to use it. Sit at the desk, pull the chair back, open the storage, and walk to the closet. Then imagine the exercise equipment in its operating position and the accessories returned to storage afterward. Check the mirror from its intended viewing position. For a family room, confirm that the play arrangement remains separate from adult equipment.
Choose the first purchase according to the problem it solves. It may be a cabinet that clears the desk rather than a new desk, or a different equipment format rather than a larger machine. Leave room for the activities that already matter to your household.
Before placing the order, complete the final checks below. Keep the page with your product instructions so setup begins with the same measurements you used to choose the item.
- The exact model fits the delivery route and the intended position.
- The instructions identify the required operating space and permitted storage method.
- Doors, drawers, the desk chair, and essential routes still work.
- The power, mounting, assembly, and included-accessory details are clear.
- Each child product is intended for its planned use and configuration.
Sources and further reading
- Concept2 RowErg specifications
- Sunny Health & Fitness Smart Motorized Under Desk Mini Elliptical
- Century Original Wavemaster
- OSHA Computer Workstations: Monitors
- OSHA Computer Workstations: Desks
- HP printer specifications: paper sizes
- Simplehuman Sensor Mirrors
- CPSC Safe Sleep
- CPSC Anchor It
- CPSC Childproofing Your Home